%20for%20Knowledge%20Base-2.png?width=200&height=43&name=Logo%20(white)%20for%20Knowledge%20Base-2.png)
In this article:
Attendee / registrant statuses
Changing the settings of an Event
Exporting a list of registered attendees
Viewing recent updates for an Event
Frequently Asked Questions (FAQs)
For information on getting started with Events and creating new Events, please see this article.
Viewing an Event
-
To see existing Events, you will need to enter the Events Administration area by first clicking your name up the top right-hand corner of the system, and then selecting Events (Beta).
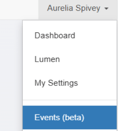
Note: This will be made available from the main menu once it becomes it is made available for general release. - Click the name of the Event you would like to view
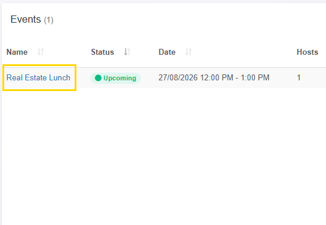
Viewing registrations
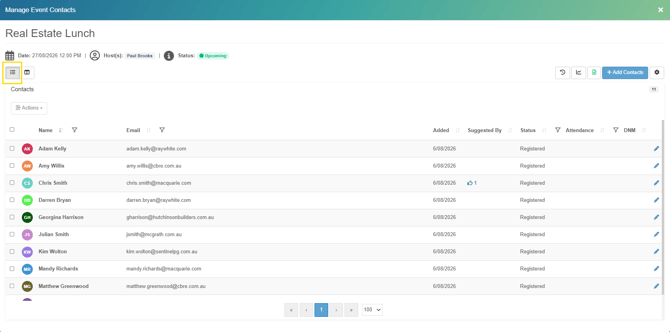
Once you have clicked into the Event, you will see each of the contacts that are associated with this Event.
There are two main views,
-
List View (the default view)
-
Status View
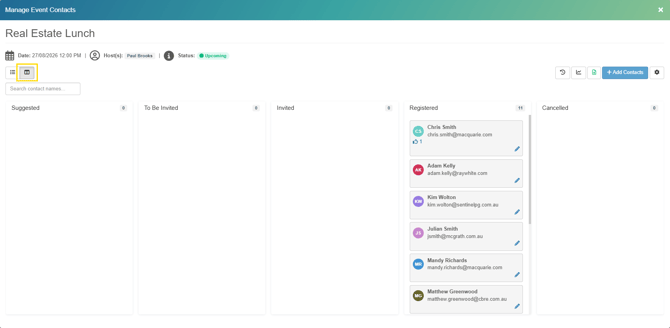
Status view has the benefit of being able to drag contacts between Status columns to update their status, but can quickly become unwieldy for events with more than 50 or 100 people.
Attendee / registrant statuses
There are 5 different statuses used in the lead up to an event, while the last 2 (Attended or No showed) are only available after the event:
Pre event-
Suggested
-
To Be Invited
-
Invited
-
Registered
-
Cancelled
Post event
-
Attended
-
No showed
The status for a contact can change, but they can only have one of these statuses at any time. Also note that these do not need to be used in sequence.
As would be the case with a Webinar, a contact could immediately start as Registered, without being set as Invited, To Be Invited or Suggested.
Statuses Explained
Suggested
This is completely optional. It can be used when a partner, lawyer or accountant has suggested (put forward, recommended or sponsored) a contact to be invited for a particular event. A contact can be suggested by one or more partners, lawyers or accountants. This does not mean a person will be invited, but does help in prioritizing and assigning invitations, particularly for paid and space limited events such as a lunch or dinner.
To Be Invited
Typically used to denote that a contact has been identified as someone that will be invited, though they have not yet been invited. This can be useful when working through a list of potential invitees, while the process of sending out the invites will happen later or is scheduled for a set time.
Invited
Used to mark a contact that has been invited, though the contact is yet to accept or decline. This can be useful for a paid or limited space event, allowing you to track how many people have been invited and which contacts have yet to respond.
You can use this list to help nudge those that have not responded, to either help increase numbers or to lessen the likelihood of people just turning up on the day and throwing your well-crafted seating plan out the window! 😅
Registered
Used to mean the same as "Accepted" or an RSVP of "Yes". This is your list of those that have specifically stated they will be attending.
Cancelled
Used for those contacts that had either Registered and then later Cancelled, or those that initially declined your invitation.
Attended
This status in only available after an event has taken place to represent that a person did in fact attended, rather than simply register and then 'no show'
No Show
This status in only available after an event has taken place to represent that a person was registered, but did not attend.
Updating Registrations
Changing / updating the registration status for one or more contacts can be done in the following ways:
- One-by one through the Event Administration interface
- Multiple at once (in bulk) through the Event Administration interface
- Multiple at once (in bulk) through an external list or spreadsheet
- Via a connected system (reflecting automatically in Client Sense)
One-by-One
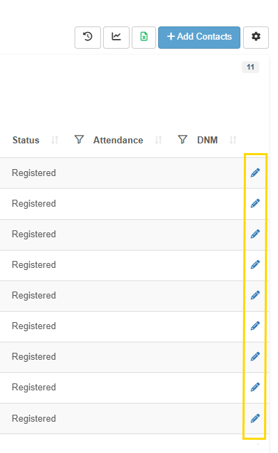
When in List View, you can click the Pencil Icon for any of the contacts to change their status:
Here you can change the Status for a contact.
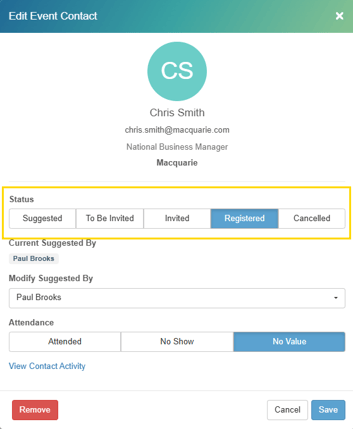
Here you can manually alter Suggestions, if for example you have been asked to Suggest these contacts on behalf of a partner, lawyer or accountant, or if you simply want to keep track of who from the firm had suggest which contacts.
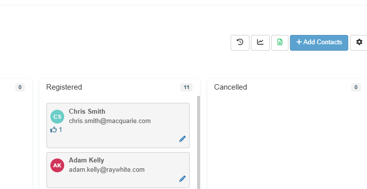
When in Status View, you can drag and drop a contact from one Status column to another.
Multiple at once (in bulk) through the Event Administration interface
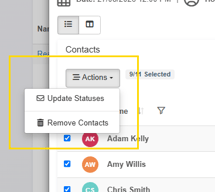
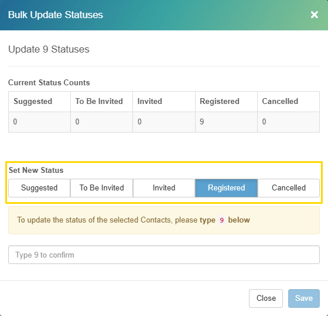
Bulk changes through the interface need to be made from List View. To change the status for multiple contacts at once, start by selecting all those you want to change:
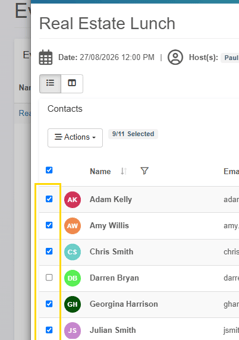
Select Actions and Update Statuses
Multiple at once (in bulk) through an external list or spreadsheet
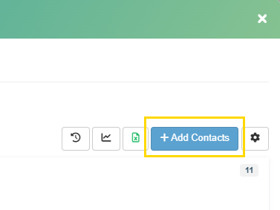
In either List or Status view, you can click + Add Contact
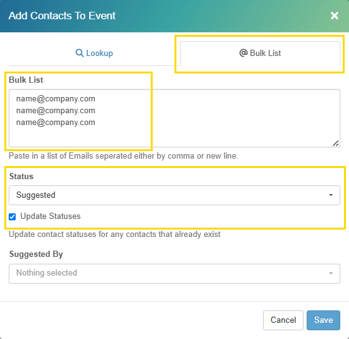
Choose @ Bulk List, paste the email addresses of the contacts you want to update into the Bulk List text box, change the Status to the new status these contacts should be, check the box for Update Statuses and click Save.
Via a connected system (reflecting automatically in Client Sense)
HubSpot is the only connected system available at this stage during the early release of the Events Module. Other systems will be added.
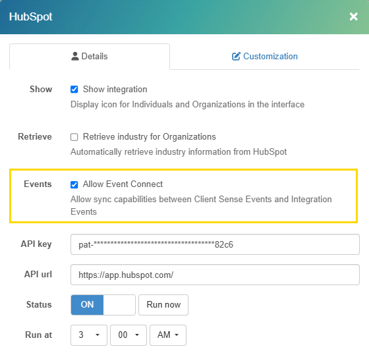
If you receive an error when enabling this option, it is most likely that Client Sense integration in HubSpot has not been updated to include the Marketing Events access. 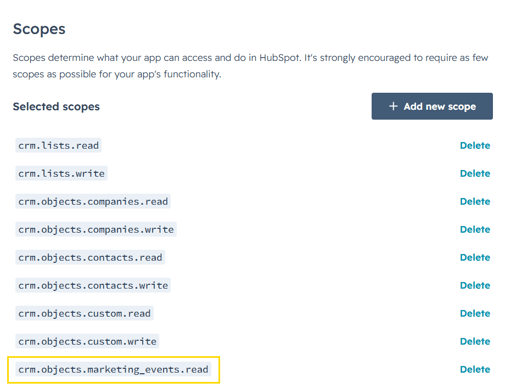
Please see this article on implementing the require change.
Creating a new Event that syncs with HubSpot
You can sync a new or existing Client Sense event with a HubSpot Marketing Event.
Once the Allow Event Connect is enabled, you will now see an additional option when creating a new Event. This screen will provide you with the following choices:
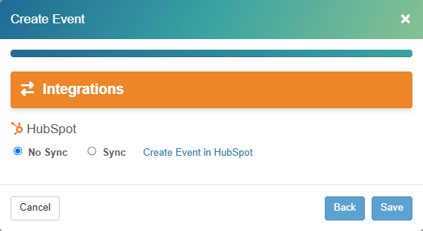
No Sync: This will have no change and will not connect with a HubSpot Event.
Sync: This will display a list of your HubSpot Marketing Events to choose from.
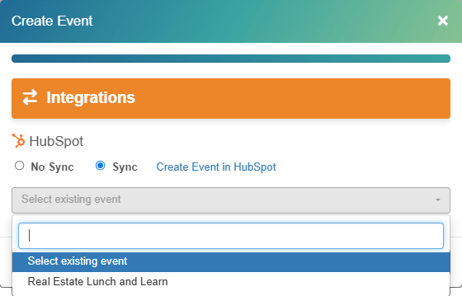
💡If your HubSpot Marketing Event does not appear or you have yet to create it, you can click Create Event in HubSpot to be taken to the Marketing Events area in HubSpot.
Syncing an existing event with HubSpot
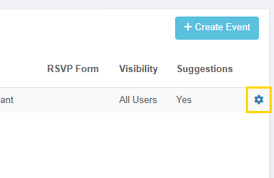
To sync an existing Client Sense event, open the Event Administration area of Client Sense. Click the Settings Cog Icon for the Event you would like to sync.
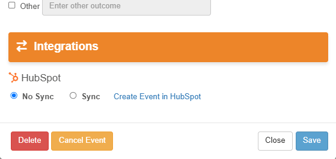
Scroll down in the Event settings until you see the Integration option at the bottom. Choose Sync, choose the HubSpot Marketing Event you want to sync with and click Save.
Adding a new Attendee
You can manually add Attendees through Client Sense, although know that if you have connected an Event with an external system such as HubSpot, any new Attendees will be automatically added.
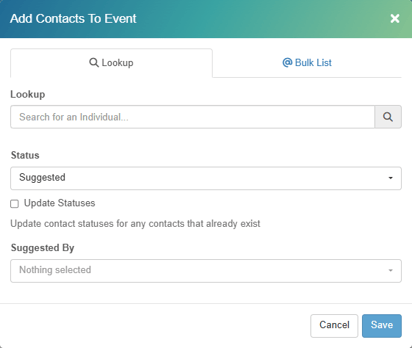
Open the Event from the Event Management administration area and click + Add Contacts
You can search for a contact using the Lookup by entering their name or email. Under Status, choose the registration status they will start with.
Note: this approach will allow you to find contacts that already exist in Client Sense (ie people your firm has already had contact with).
Viewing suggested contacts
You can see which contacts have been suggested, how many have suggested that contact and which partners, lawyers, accountants have suggested them.
Within the Event Administration area, you can see the number of suggestions for each Event.

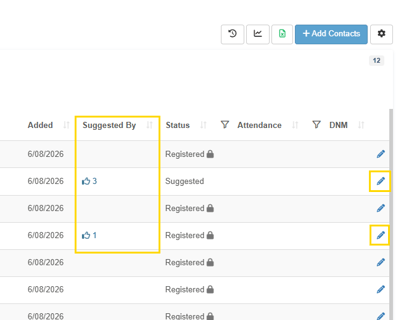
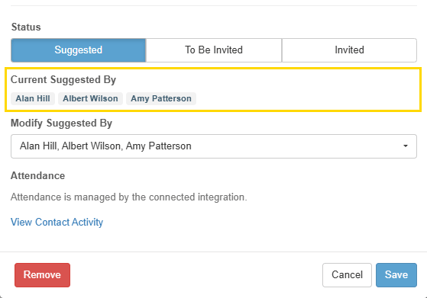
Note: An export will also list all of the contacts which have been suggested and by whom. Details on how to perform an export of attendees is here.
Exporting a list of registered attendees
You can export a list of attendees and their most current status by opening the Event Administration area, clicking on the name of the Event and clicking the Excel icon.
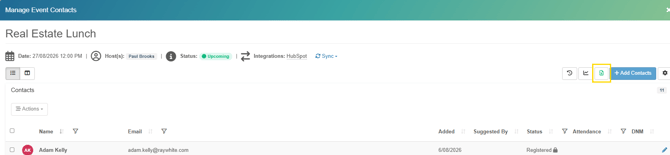
Note: If the event is connected to an external system, you can click Sync to perform the most up-to-date check of registrations before exporting.
Viewing Recent Updates for an Event
You can see a full list of changes and activities for any Event by opening that Event within the Event Administration area and clicking the History Icon.
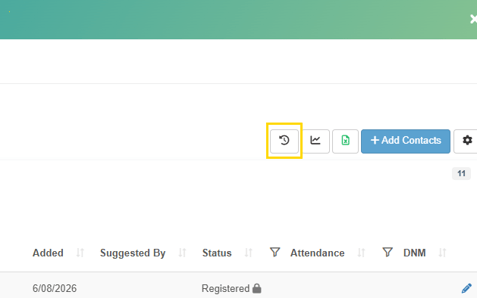
This can be particularly useful if working with others to manage a shared event or to see a list of new registrants that have signed up since you last looked at the status of the event
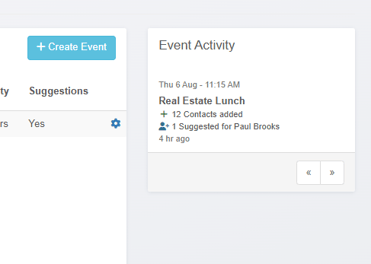
💡 You will also see an activity summary for all Events in the main Event Administration area:
Changing the settings of an Event
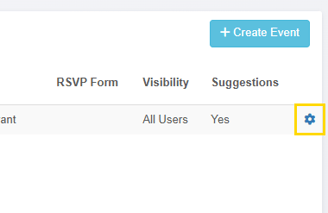
To change the settings of an existing Event, open the Event Administration area and click the Cog Icon for that that Event.
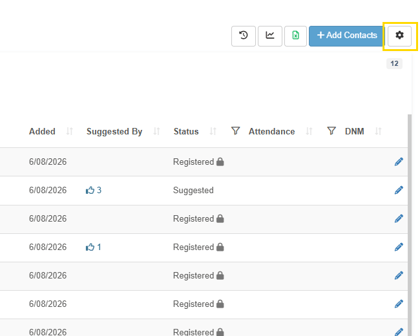
You will also find the Cog Icon to access Event Settings from within the Event itself.
Deleting an Event
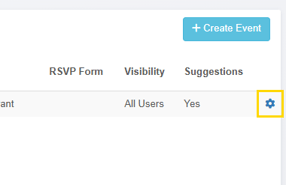
You can delete an Event by opening the Event Administration area and then selecting the Cog Icon for the Event you would like to delete.
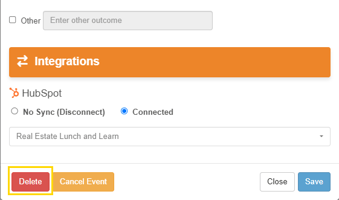
Deleting the Event will remove the Event and details captured for this Event, including the details of registrations and other contact statuses. You can choose to Cancel, rather than Delete an Event, details on cancelling an event are here.
Cancelling an Event
You can cancel an Event by opening the Event Administration area and then selecting the Cog Icon for the Event you would like to cancel.
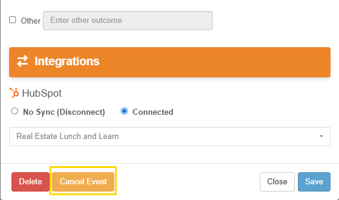
Click Cancel Event.
Cancelling an Event does not delete the Event, it remains in the Event Administration area, but will no longer be visible to the firm (if it was made Visible). The event will now show an Event Status of Cancelled.
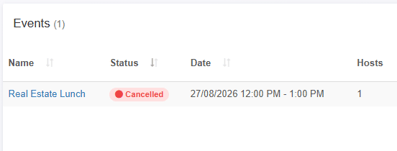
💡You can use the same process of Cancelling an Event to return it to an Active Status.
Frequently Asked Questions (FAQs)
-
Will adding a Connected Event from HubSpot delete my existing attendees?
No, this will not remove any existing contacts from an Event or alter their registration status.
-
What if a person that is not in Client Sense registers for an event through HubSpot?
This will be ok , the contact will automatically be added Client Sense and to the Event. Later reporting will allow the system to identify contacts which first interacted with the firm via registering for an event.